

Imagine a world where kids can unleash their creativity without the fear of ruining the dining room table. A DIY kids table is the perfect solution for parents who want to give their little Picassos a dedicated space to create, play, and maybe even practice their culinary skills—watch out for the spaghetti masterpiece!
Overview of DIY Kids Tables
Creating a DIY kids table provides numerous advantages for fostering creativity and independence in children. Parents often find these tables not only functional but also a valuable tool for learning and play.
Benefits of DIY Projects for Children
Engaging in DIY projects encourages children to develop new skills, like problem-solving and creativity. Hands-on activities promote fine motor skills, as kids manipulate tools and materials. Collaborative efforts enhance teamwork and communication, allowing friendships to flourish. When children undertake such tasks, they gain a sense of accomplishment and pride in their work. Experiencing the design and creation process inspires confidence, motivating them to try new projects in the future.
Importance of a Dedicated Kids Table
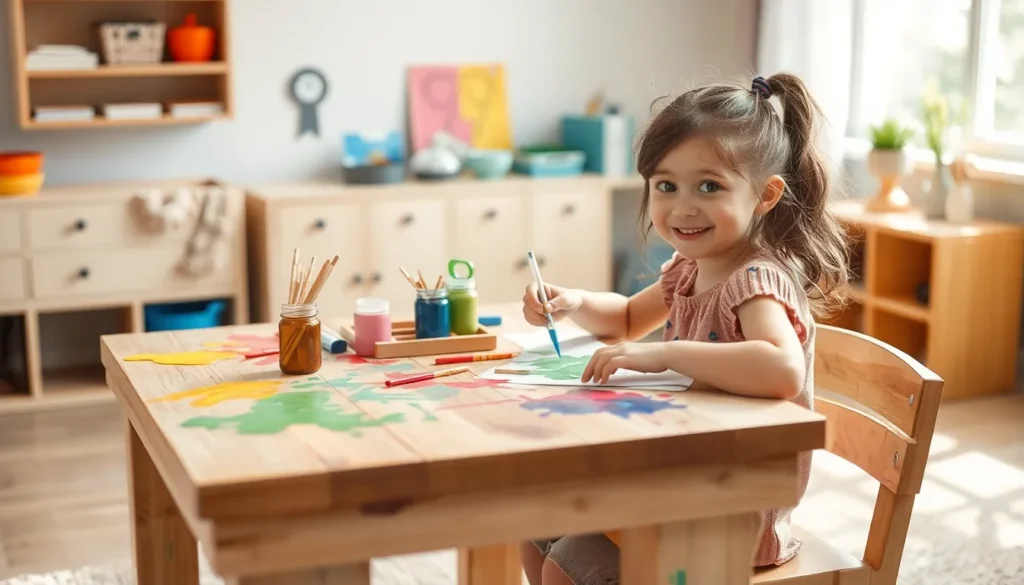
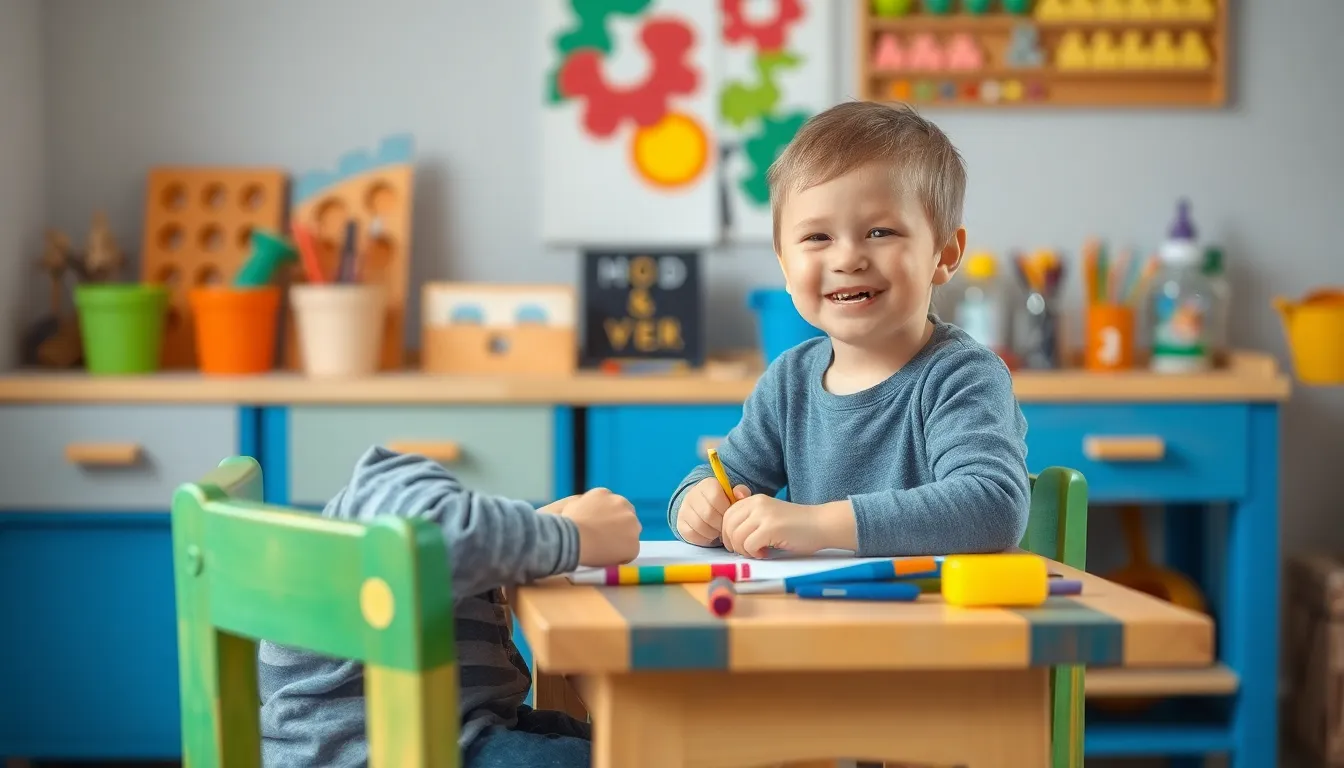
A dedicated kids table allows children to explore their interests and express themselves freely. It serves as a safe workspace where messes from creative activities become less concerning for parents. When kids have their own table, they can engage in focused play, whether crafting or doing homework. This space promotes organization and responsibility as children learn to keep their area tidy. Additionally, a designated table encourages imaginative play, helping kids develop cognitive skills through unstructured activities.
Choosing the Right Materials
Selecting the right materials is essential for a DIY kids table. Prioritizing safety and sustainability ensures a smart investment for any parent.
Safe and Non-Toxic Options
Choosing safe and non-toxic materials protects children during play. Look for products like water-based paints and finishes, which contain fewer harmful chemicals. Opt for solid wood as a primary material; it’s durable and free from toxic coatings. Many manufacturers offer child-safe certifications, making it easier to identify suitable choices. Parents can also explore organic fabrics, ensuring soft seating without harsh dyes. Using these materials creates a safe workspace for kids to explore their creativity.
Durable and Sustainable Choices
Prioritizing durability and sustainability leads to long-lasting products. Select materials like bamboo or reclaimed wood; both provide strength and minimize environmental impact. Furniture constructed from high-quality plywood can withstand daily use without warping or cracking. Explore composite materials that combine recycled content for added resilience. Parents should consider finishes made from natural oils or waxes, which add protection while being eco-friendly. Investing in these durable options supports both the environment and the active lifestyle of children.
Step-by-Step Guide to Building a DIY Kids Table
Creating a DIY kids table involves several steps. This guide outlines essential tools, design elements, and assembly instructions for a successful project.
Tools You’ll Need
Gathering the right tools is crucial for this project. Use a drill for creating holes and fastening components. A saw cuts wood to size, while a tape measure ensures precise dimensions. Sandpaper smooths surfaces, making them safe for kids. Clamps hold pieces securely during assembly. Finally, use a paintbrush or roller for applying finishes. Having these tools ready simplifies the building process.
Designing Your Table
Designing the table starts with considering available space and functionality. Sketch out dimensions that fit your room and suit your children’s needs. Use sturdy materials like solid wood or plywood for durability. Choose a height appropriate for children, typically 22 to 26 inches. Add features like storage or a whimsical paint color to enhance creativity. Visualize how the design supports activities like drawing or playing games.
Assembly Instructions
Assembling the table requires careful attention to detail. Begin by cutting the wood according to the desired dimensions. Attach the legs to the tabletop using wood screws for stability. Ensure each joint is tight, preventing wobbling. Sand the edges to eliminate sharp corners. Apply a non-toxic finish to protect the surface. Lastly, allow ample drying time before introducing the table to your children. Following these steps results in a functional, safe workspace.
Creative Ideas for Customization
Customization allows for unique expressions of creativity. Explore various techniques to personalize a DIY kids table.
Painting and Staining Techniques
Parents can utilize vibrant colors to bring the table to life. Water-based paints offer safety and a vast palette for children’s preferences. Acrylic paints apply easily and dry quickly, providing instant gratification. For a polished finish, opt for a non-toxic wood stain that enhances the natural grain. Consider using stencils for fun designs, like animals or shapes. More intricate patterns can add another layer of excitement to the table. Always ensure that finishes are child-safe, prioritizing eco-friendly options that minimize health risks.
Adding Fun Themes and Features
Themed designs can transform a simple table into an imaginative space. Create themes like underwater worlds or outer space adventures with themed decals or painted scenes. Adding features such as chalkboard surfaces encourages creativity and play. Incorporating storage options like bins or drawers can help keep art supplies organized. Brightly colored chair cushions can complement the table’s design while providing comfort. Customize the height to fit children perfectly, ensuring they can use the table effectively. Personal touches, like kids’ names etched into the surface, foster a sense of ownership and excitement.
Maintenance and Care for Your DIY Kids Table
Regular maintenance ensures longevity for a DIY kids table. Clean the surface with a damp cloth to remove dust and spills. Use a gentle soap if necessary for tougher stains. Avoid harsh chemicals that can damage the finish.
Inspect the table monthly for any signs of wear. Loose screws or wobbly legs can pose safety hazards. Tighten screws and bolts to maintain stability. Sand any rough edges that develop over time, keeping the table safe for little hands.
Reapply a non-toxic finish every year. This protects the wood from moisture and enhances its appearance. Choose high-quality finishes made from natural oils or waxes. Ensure the environment is well-ventilated during the application process.
Store art supplies and play materials properly to avoid clutter. Utilize designated bins or drawers to organize items efficiently. Encourage children to help maintain their space. Instilling responsibility fosters good habits at an early age.
Consider seasonal checks to assess the table’s condition. Effects from sunlight or humidity can affect wood quality. Move the table to a different location if needed, avoiding direct sunlight exposure. Keeping it away from high humidity areas will prevent warping.
Involve kids in the maintenance routine. Teach them to care for their table through age-appropriate tasks. Cleaning together can make it a fun bonding activity. Communication about care helps them understand the value of their creative space.
Creating a DIY kids table is a rewarding project that combines functionality with creativity. It offers children a safe space to explore their imaginations while developing essential skills. By choosing safe materials and following a thoughtful design process, parents can craft a table that not only meets their child’s needs but also stands the test of time.
Customizing the table with personal touches makes it even more special, encouraging kids to take pride in their creative hub. With proper care and maintenance, this DIY project can become a cherished part of family life, fostering creativity and responsibility in children for years to come.


