

Imagine transforming a boring afternoon into a colorful science experiment that’ll have kids giggling and learning at the same time. A DIY lava lamp is not just a funky decoration; it’s an exciting way for kids to explore basic science concepts. With a few simple ingredients, they can create their very own mesmerizing lava lamp right at home.
Overview of DIY Lava Lamp for Kids
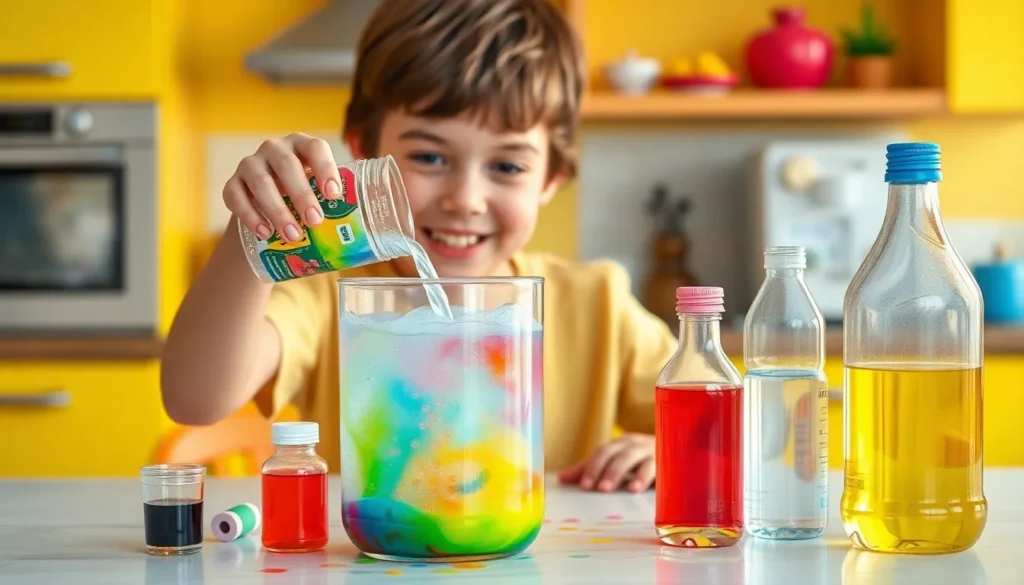
Creating a DIY lava lamp offers a delightful blend of fun and learning for children. This project illustrates concepts such as density and chemical reactions using common household items. Ingredients typically include water, oil, food coloring, and a fizzy tablet, easily accessible for most families.
Kids engage with science through observation and hands-on interaction. Each step reveals a new phenomenon, such as how oil and water interact differently. Mixing them in a clear container demonstrates the separation due to density, effectively capturing a child’s attention.
The addition of food coloring enhances visual appeal. Kids watch as color diffuses into the water, creating a mesmerizing effect. Using a fizzy tablet introduces a reaction that produces bubbles, simulating the classic lava lamp motion that makes the project even more captivating.
Safety remains a priority. Adult supervision ensures a secure environment during this experiment. Non-toxic materials and clear instructions promote safe exploration, allowing children to focus on learning without concern.
Ultimately, the DIY lava lamp serves as an educational tool. This activity encourages curiosity and experimentation, fostering a greater interest in science. Through this hands-on approach, kids discover fundamental scientific principles while enjoying a creative project.
Materials Needed
Gathering the right materials is crucial for creating a DIY lava lamp. This project requires a few common items that are easy to find at home.
Common Household Items
- Water: Use approximately 1 cup for the base of the lava lamp.
- Vegetable oil: About 2 cups works well, as it creates a clear separation from water due to density.
- Food coloring: Choose any color preferred for visual appeal.
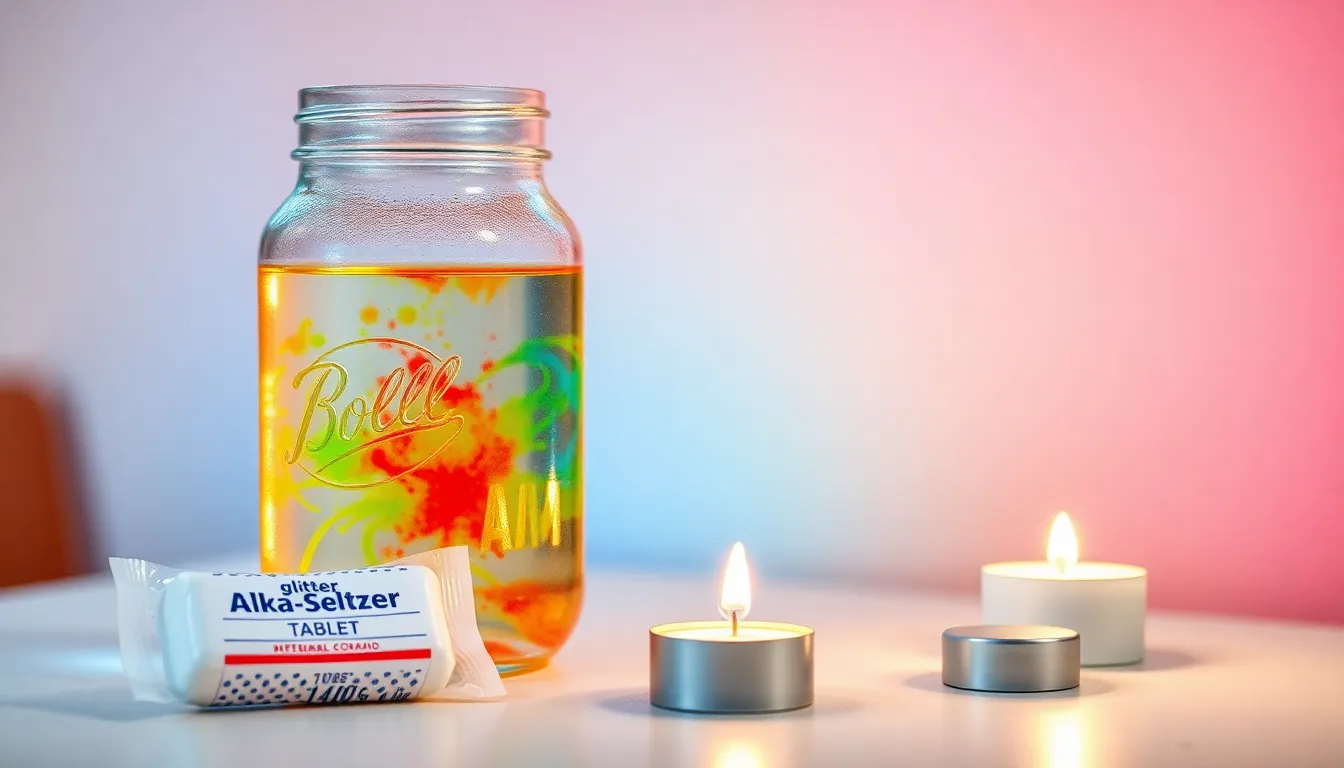
- Fizzy tablet: Alka-Seltzer works best, providing the chemical reaction needed to create bubbles.
Optional Additions
- Glitter: Adding 1 teaspoon can enhance the visual effect and create a sparkling look.
- Clear container: A glass jar or plastic bottle serves as the project vessel.
- LED light: Place the lava lamp over a small LED candle for a glowing effect.
- Stickers: Decorate the sides of the container for personalization, adding an artistic touch for kids.
Step-by-Step Instructions
This section outlines the steps for creating a DIY lava lamp, providing clear guidance for kids to follow. Let’s dive into the process using simple and safe materials.
Preparing the Base
Start with an empty clear container, like a glass jar or plastic bottle. Pour in roughly 1 cup of water first. After adding water, include 2 cups of vegetable oil. Observe how the oil and water separate, creating two distinct layers. This separation demonstrates the differences in density between the substances. For added fun, consider including glitter at this stage, which enhances the visual appeal. Adult supervision is crucial to ensure a safe and enjoyable experience.
Filling the Bottle
Next, carefully add a few drops of food coloring to the container. Choose any color to make the lamp visually striking. The food coloring will mix with the water layer, providing a vibrant contrast against the oil. An adult’s assistance might be helpful when pouring the ingredients. Ensure the container remains filled to about three-quarters full for the best results. This balance allows the lava effect to develop more effectively and provides ample space for the bubbles to rise.
Creating the Lava Effect
Now comes the exciting part. Break a fizzy tablet, like Alka-Seltzer, into small pieces and drop them into the container. As the tablet dissolves, gas bubbles form and rise through the colored water. Watch as the colored water travels upward, mimicking a traditional lava lamp. If desired, add more fizzy tablet pieces for a longer-lasting effect. Kids can personalize their lava lamps using stickers on the outside of the container. This step combines creativity with a captivating science demonstration, making the project engaging and educational.
Safety Considerations
Safety plays a crucial role during the DIY lava lamp project. Adult supervision is essential to create a secure environment for children. Non-toxic materials ensure a safe craft experience. The use of common household items reduces the risk of harmful reactions.
Keep the workspace clean and organized. Children should avoid ingesting any materials used in this activity. It’s important to explain that the fizzy tablet should be handled carefully, as it can cause bubbling and foaming.
Prepare for spills by laying down a protective surface. Direct children to handle the clear container gently to prevent breakage. In case of any accidental spills, use a damp cloth to clean up immediately, especially if food coloring is involved.
Remind kids not to consume any part of the lava lamp once completed. Provide guidance on storing the lamp in a safe place, out of reach of small children or pets. Educating participants on the importance of clean hands before starting reinforces overall safety.
Encouraging curiosity while maintaining safety transforms the project into an enriching experience. Make it clear that understanding safety procedures enhances the fun and creativity involved in creating a DIY lava lamp.
Fun Variations to Try
Creating a DIY lava lamp offers a chance to explore different variations. Colored oil can enhance the visual effects; using different types of oils, such as olive or coconut oil, creates unique appearances. Adding glitter introduces an extra flair, making the lava lamp sparkle with movement.
Experimenting with various types of containers adds variety. Utilizing glass jars or plastic bottles provides options for size and shape. Finally, using colored water instead of food coloring can yield softer hues and pastel effects, providing a delightful twist.
Involving themes can make the project even more exciting. Kids might enjoy creating a holiday-themed lava lamp using seasonal colors. Halloween-themed colors like orange and black can lend a spooky touch, while Valentine’s Day lamps with red and pink appeal to a festive spirit.
Using glow-in-the-dark paint is another variation that adds a night-time effect. It creates a magical experience when turned off in a dark room, captivating children’s attention.
Including essential oils introduces an aromatherapy component. Selecting lavender or citrus scents transforms the lava lamp into a sensory fixture, allowing kids to enjoy pleasant fragrances while marveling at the visual display.
Implementing different fizzy tablets is yet another option. Experimenting with varying brands or types may change the reaction and bubbling effect, leading to even more visual fun. Adjusting the amount of tablet can alter bubble intensity, allowing children to observe different chemical reactions.
Creating a lava lamp with friends encourages collaboration, adding more joy to the experience. Sharing ideas or creating themed lamps as a group brings communal enjoyment to the science lesson.
Creating a DIY lava lamp is a fantastic way for kids to explore science while having fun. This hands-on project not only sparks curiosity but also reinforces important concepts like density and chemical reactions. With simple materials and a bit of creativity, children can craft their own mesmerizing displays.
The opportunity to personalize their lamps adds an extra layer of enjoyment. By experimenting with different colors and variations, kids can discover new visual effects while learning. Plus, with adult supervision and safety measures in place, families can enjoy a worry-free crafting experience.
Overall, this engaging activity transforms a regular afternoon into an exciting adventure in science and creativity.


